How to Make AI Images: From Idea to Finished File
How to make AI images comes down to four choices made before the run: what goes in the picture, how you word it, which photo model draws it and what shape the frame takes. Each one shapes the result more than it seems.
Make an AI imageReady in minutes · Free templates every day
This guide takes them in that order on the Create photo page, then covers pictures of yourself, realistic results and what you end up with. If you only want a styled portrait, the ready-made templates in the grid below skip most of the steps.
Step 1: decide what the picture shows
Name four things: the subject, what it is doing, where it is and how it is lit. A glass jar of honey on a wooden table with low morning sun from the left gives a predictable frame. A nice photo of honey leaves almost everything to chance. The more exact the object and the conditions, the fewer gaps the model has to fill on its own.
Step 2: choose the words
Write a list of what should be visible rather than a set of orders. Models handle positive statements better than negatives, so an empty street works more reliably than a street with no people. Set the medium with one word near the start: photograph, illustration, watercolor or 3D render. Plain sentences are enough; long strings of quality buzzwords rarely help.
Step 3: pick a photo model
Models differ in temperament: one may hold lettering more firmly, another treats light more softly, a third leans harder into stylization. The model is chosen before the run, so instead of guessing, send one description through two of them, say Seedream 4.5 and then GPT Image 2.5, and compare. A separate guide explains how each model works inside the generator.
Step 4: set the frame shape first
The aspect ratio is fixed up front because the model composes the scene inside that frame. Vertical 9:16 suits stories, reels and phone wallpapers; wide 16:9 suits a desktop background, a slide or a blog header. Choosing it now means nothing important gets cut away when you crop later, and the subject sits where the format expects it.
Pictures of yourself, and making them look real
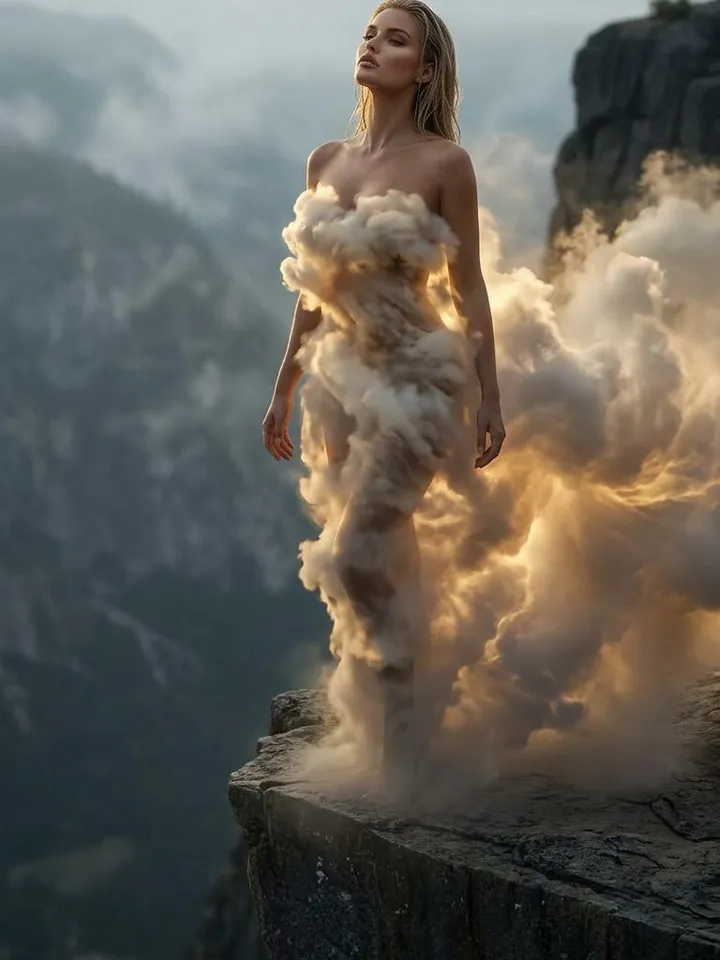
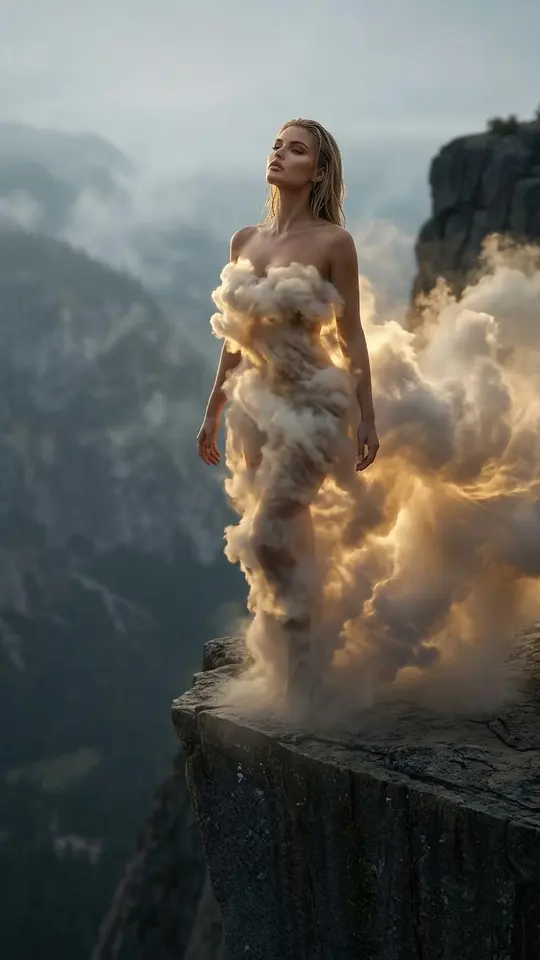
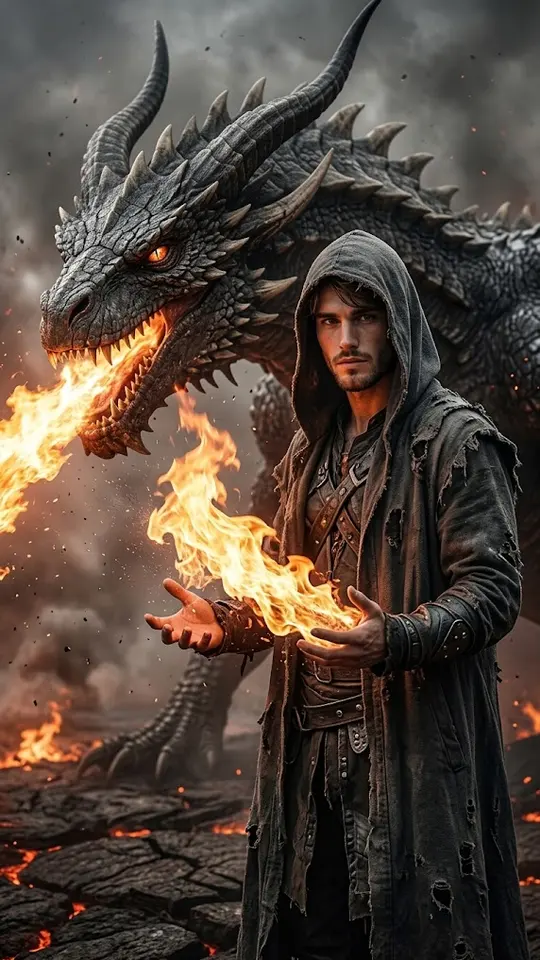
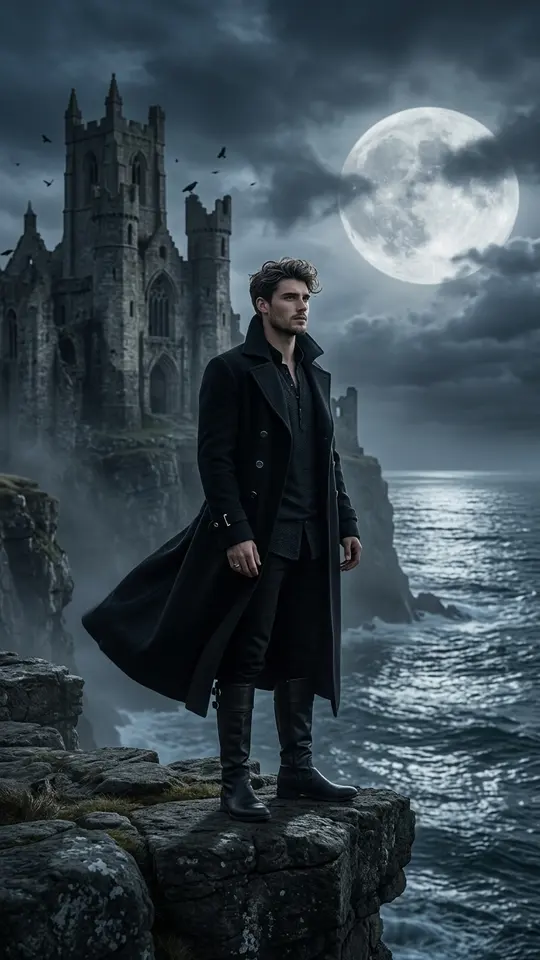
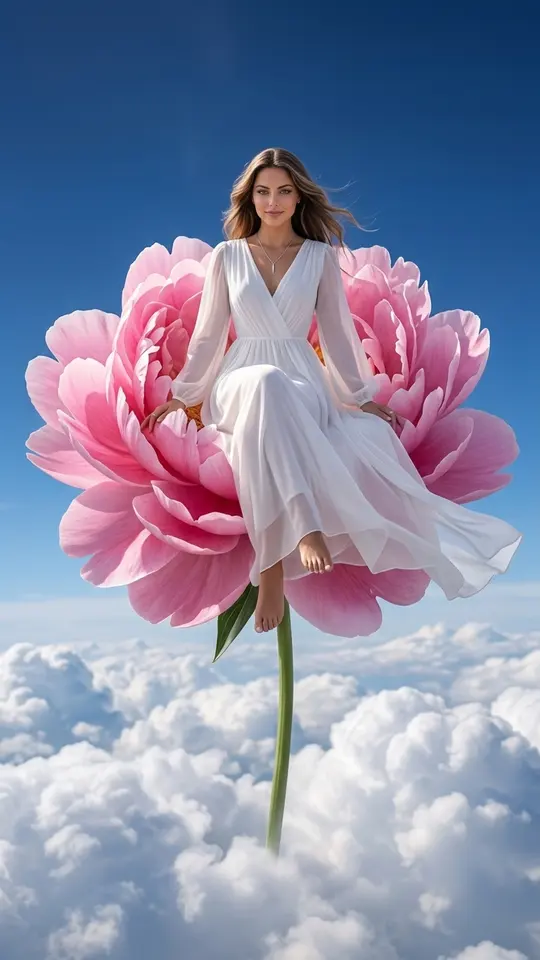
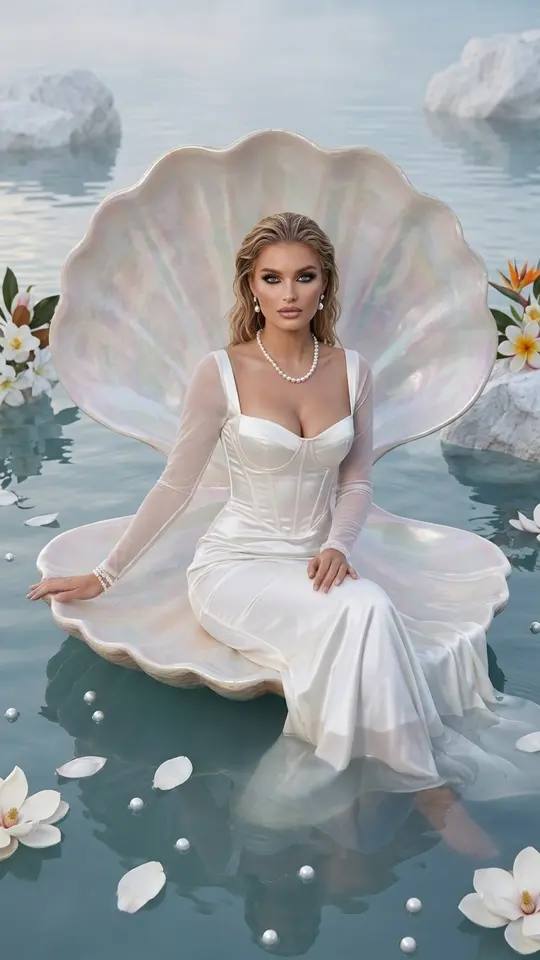
For a picture of yourself, attach a sharp, evenly lit photo on Create photo, or open a portrait template such as Dress of Glowing Clouds or Dragon Fire Mage; their instructions ask for a recognizable face with natural skin texture and no stylization. To push any image toward real, describe the light source and time of day and add small honest flaws like stray hair or worn wood.
Ready-made templates
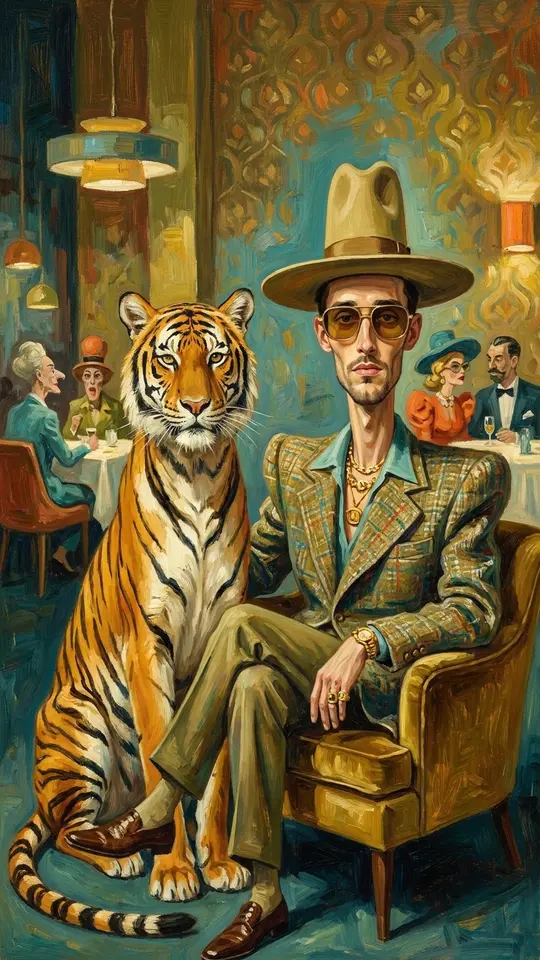
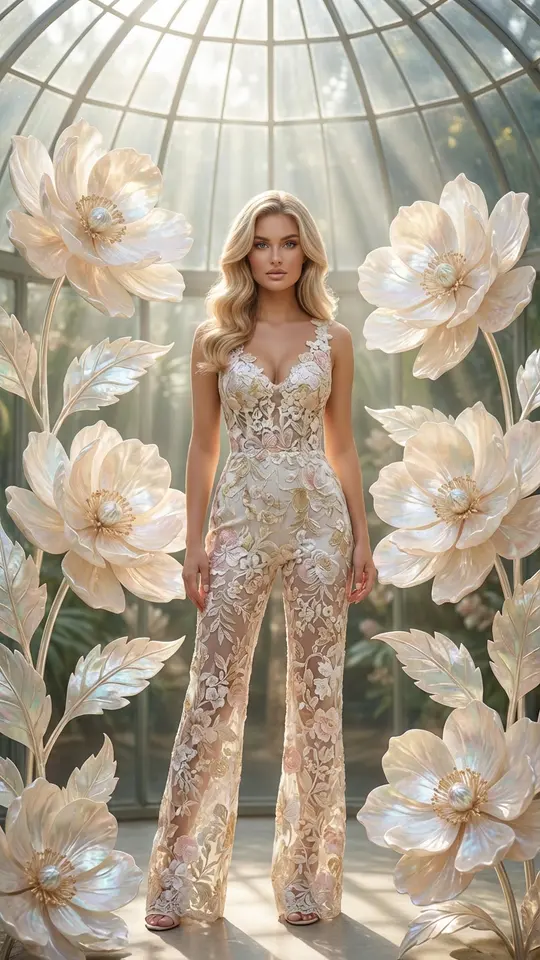
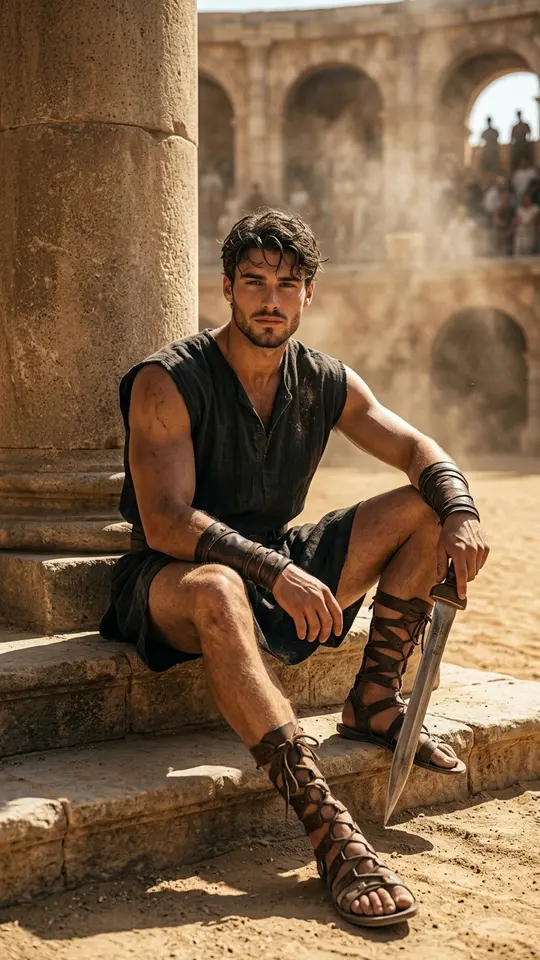
FAQ
Can I make AI images for free?
A small amount is free. Verifying your address at sign-up adds 5 stars to the balance, and a handful of templates wear a Free today tag each day with a cap on free runs. Beyond that, more stars come from the Pricing page, and every template or model shows its cost first.
Which language should the description be in?
English works well, and plain sentences beat piles of keywords. Order the scene as subject, action, place and light, then name the medium near the start, much as a photographer would want a shot explained before setting up.
Can I get the exact same picture again?
Not pixel for pixel, because every run draws a new image. Running the same description again gives a close relative in mood and layout, so save wording that worked and change one detail at a time.
What should I do if the image comes out wrong?
Look at what the model guessed rather than what you wrote. A wrong color, a missing object or an odd angle usually means the description skipped it, so add that detail and run again; one or two edits are normally enough.
Whose photos can I use for AI images of people?
Your own face, plus anyone who gave you a clear yes. Famous people, public figures and passersby are ruled out, as are fake documents and sexual content, and a child should only ever be shown as part of your family.